- Modules
- Walk-Cycle Animation with Harmony Essentials
- Activity 4: Painting a Walk Cycle
Activity 4: Painting a Walk Cycle
T-EXC-001-006
Now you can add and customize the different colours that will be used to paint your animation. Be creative! You can work with one colour at a time or create them all at the same time. Remember, you can modify them at any time without repainting your drawings.
It is time to create a palette for your character and repaint the outlines using the colours contained in this palette.
Material
You can download the provided sample material for this module and use the following templates to use as a reference to compare with your final sketch. Don't forget to unzip (uncompress) the files before placing them in your library.
- Your Walk_cycle scene created in the previous exercise
- MO-EXC-001/02-baby-walk-clean.tpl
- MO-EXC-001/03-baby-walk-colour.tpl
How to paint the animation
- Open your Walk_cycle scene. If you do not have it, import the 02-baby-walk-clean.tpl template.
- In the Colour view and click the New Palette
 button.
- Double-click the new colour swatch and give it a name.

- Rename the default colour swatch and call it Line.
- In the Tools toolbar, select the Paint
 tool.
tool.
- In the Tool Properties view, select the Repaint
 tool. This ensures that only the lines are repainted; all the empty zones remain as is.
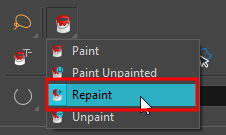
- In the Tool Properties view, click the Apply to Multiple Drawings
 button, so you can repaint the lines on all your drawings at the same time. Remember to use onion skinning to check that no part of the animation is left outside the selection.
- In the Camera view, make a selection around your animation.
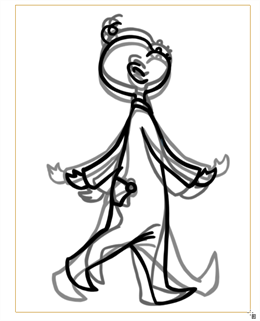
- In the Colour view, click the Add Colour
 button.
- Double-click the new colour swatch.
- In the Colour Picker dialog box, pick a colour and rename your colour swatch.
- Repeat these steps for each colour. In this exercise, you will need a total of five colours, including the line.
- In the Tool Properties view, select the Paint Unpainted mode and then click the Apply to Multiple Drawings
 button.
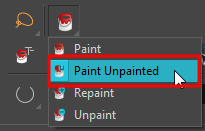
The Paint Unpainted mode will only allow the empty zone to be painted, preventing lines from being accidentally repainted.
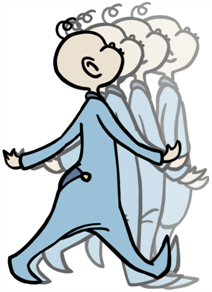
The Apply to Multiple Drawings feature is useful when you want to paint the central body zone on all of your drawings at once. It can also be used on the head zone.
- In the Tools toolbar, enable the Onion Skin
 button.
- In the Colour view, select the colour of the pajamas.
- Click inside the central zone you want to paint.
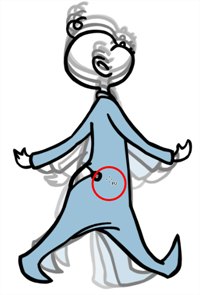
- Click the Apply to Multiple Drawings
 button again and repeat these steps for the head.
- To paint the final details, turn off the Onion Skin feature, so you can see one drawing at a time. Use the Paint tool in Paint Unpainted mode to speed up the painting process.
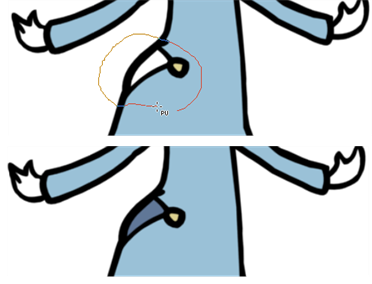
- In the Colour view, click a colour swatch.
- In the Camera view, click the zone corresponding to the selected colour.
- Flip through the drawings by pressing F and G.
- Repeat these steps for each colour until every zone is painted!
Time Estimated 20 mins
Difficulty Level Beginner