- Modules
- Keyframing Animation with Harmony Essentials
- Switching Keyframe Types
Switching Keyframe Types
T-ANIMCO-001-006
You can switch a keyframe from stop-motion to motion at any time in the Timeline view and Function Editor.
How to switch between motion and stop-motion in the Timeline view
- On the right side of the Timeline view, select one or more keyframes to modify.

- Switch between motion and stop-motion by doing one of the following:
- Right-click on the selected keyframes and select Set Motion Keyframes or Set Stop-Motion Keyframes.
- Press Ctrl + K (Windows/Linux) or ⌘ + K (macOS) for motion keyframes and Ctrl + L (Windows/Linux) or ⌘ + L (macOS) for stop-motion keyframes.
- In the Timeline View toolbar, click the Motion Keyframe
or Stop-Motion Keyframe
button.
How to switch between motion and stop-motion keyframes in the Function view
- Open the Function view.
- In the Timeline view, double-click on the layer that contains the keyframes you want to convert.
The Layer Properties window opens.

- Do one of the following:
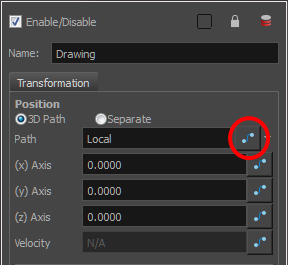
- In the Transformation tab, click the Function Editor
button.
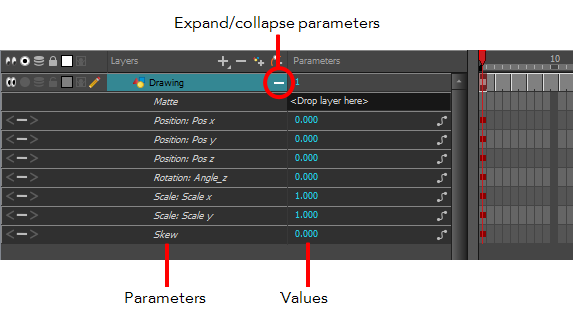
- In the Timeline view, click the Expand Function
button or press Alt + F and double-click on the function to edit.

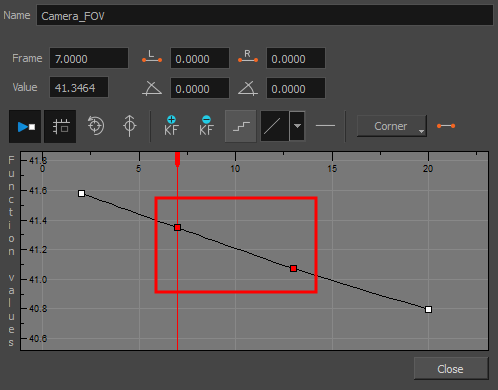
- On the function curve, select one or more keyframes to modify.

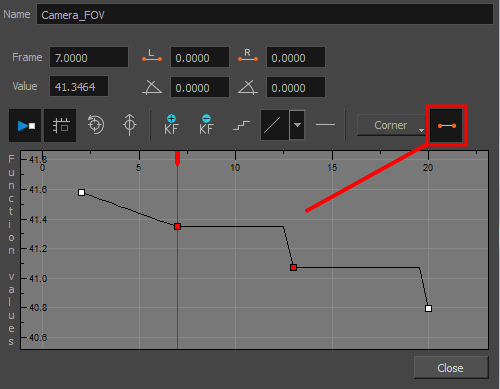
- Select or deselect the Stop-motion Keyframe
 button to set a stop-motion or motion keyframe.

Time Estimated 10 mins
Difficulty Level Beginner
Topics List
- About Pegs
- Adding Pegs
- About Drawing Layers
- About Layer Parameters
- Setting Layer Parameters
- Displaying Layer Parameters
- About Keyframes
- Adding Keyframes in the Timeline View
- Deleting Keyframes
- Animating with Keyframes
- Switching Keyframe Types
- About the Animate Mode
- Activity 1: Keyframing
- About Velocity
- Setting Eases on Multiple Parameters
- Activity 2: Easing
- Activity 3: Large Easing
- Activity 4: Small Easing
- Activity 5: Overshooting