- Modules
- Project Creation
- Creating Projects from the File Menu
Creating Projects from the File Menu
T-SBFND-002-004
You can also use the File menu. If a project is already open and you want to create a new one, use the File menu. Note that the content of the project directory will appear when you save the project for the first time.
How to create a project from the File menu
- Do one of the following:
- Select File > New.
- In the File toolbar, click the New
button.
- Press Ctrl + N (Windows) or ⌘ + N (macOS).
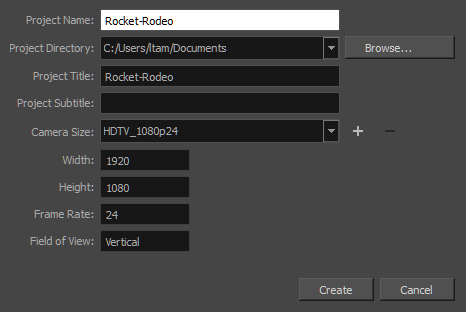
The New Project dialog box opens.

- In the Project Name field, type the name of the project. This name will appear as the file name.
- In the Project Directory field, specify the location of your new project.
- In the Project Title field, type the name of the project title. It is a good idea to use the Project Name for the Project Title. You can also type in the name of the Project Subtitle, but it is not mandatory. These titles will appear in the PDF exports of your storyboard.
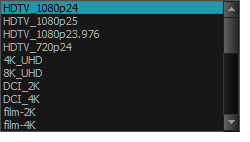
- In the Camera Size menu, choose the resolution for your project.

- Click Create Project.
Next Topic
Custom Resolution
Time Estimated 10 mins
Difficulty Level Beginner
Topics List
- Starting Storyboard Pro
- About Projects
- Creating Projects from the Welcome Screen
- Creating Projects from the File Menu
- Custom Resolution
- Opening Projects
- About Project Optimization
- Optimizing Projects
- Optimizing Drawings
- Optimization Best Practices
- Plain Vector Versus Texture Brush
- Bitmap Import Optimization
- Flattening Drawings
- Project Properties
- Activity 1: Using Feet and Frames in the Project and Printed PDF