Grouping Layers
T-SBFND-007-007
Grouping layers helps organize your work and keeps your list of layers uncluttered. You can group selected layers or create an empty group layer and add layers to it.
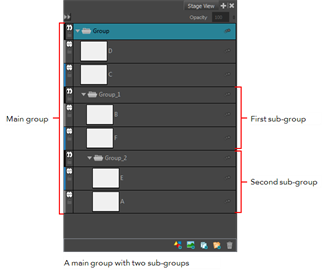
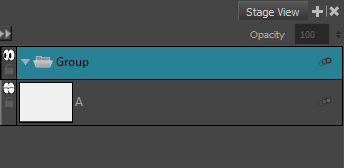
When you group selected layers, they become the sub-layers of the group layer. The first newly-created group layer is named Group. Subsequent group layers are appended with a number. For example, Group_1. The number increments with each new group layer you create. The selected group layer is highlighted in blue and its sub-layers are displayed below.
Within a group layer, you can create sub-groups to further streamline your work, and rename them to suit your project. Grouped layers can also be animated.

How to group layers
- In the Layer panel of the Stage or Camera view or in the Layers view, select at least two layers to group.
- Do one of the following:
- Click the Group Selected Layers
 button. This button can be found at the bottom of the Layer panel in the Stage or Camera view and at the bottom of the Layers view.
 - Right-click on the selection, then select Group Selected Layers.
- In the top menu, select Layer > Group Selected Layers.
How to ungroup a group layer
- Select a group layer.
- Do one of the following:
- Right-click and select Ungroup Selected Layer.
- Select Layer > Ungroup Selected Layer.
The selected group layer is ungrouped. The group layer disappears and its child layers are no longer grouped.
How to expand or collapse a group layer
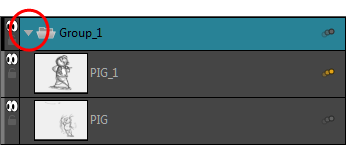
- Click the Expand/Collapse button on a group layer.

How to create an empty group layer
- Select Layer > New > Group Layer.
A new, empty group layer is created in the list of layers and is highlighted in blue. The new layer is positioned above the layer that was selected before you created the group layer.

How to add layers to an empty group layer
- Select a layer.
- Drag and drop it on a group layer.
Time Estimated 10 mins
Difficulty Level Beginner