- Modules
- Underwater Advanced Effects
- Using OpenFX Plugins
Using OpenFX Plugins
T-COMP2-008-002C
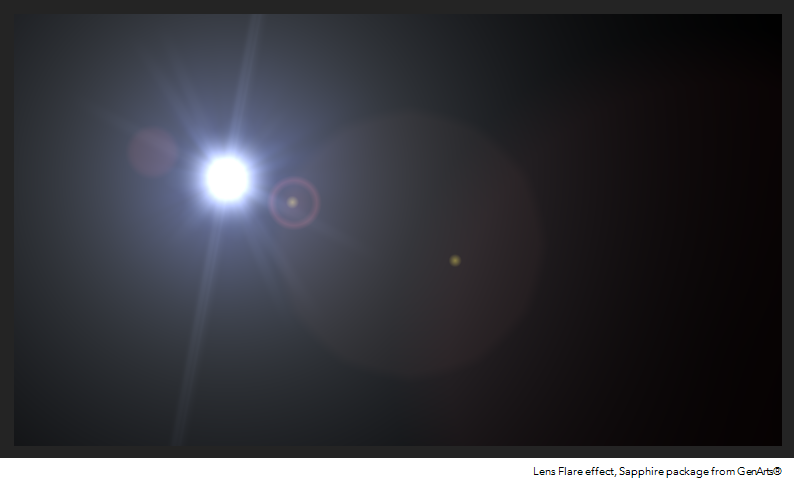
All OpenFX plugins can be customized by adjusting their parameters. Settings are organized by category and some of them can be expanded and collapsed for clarity. Parameters can also be animated over time.
How to use and edit an OpenFX plugin in
- From the Node Library view, select an effect plugin and drag it to the Node view.
- Connect your drawing nodes or other required nodes to the effect plugin.
- In the Camera view, enable the Render
 mode to see the final rendered effect.
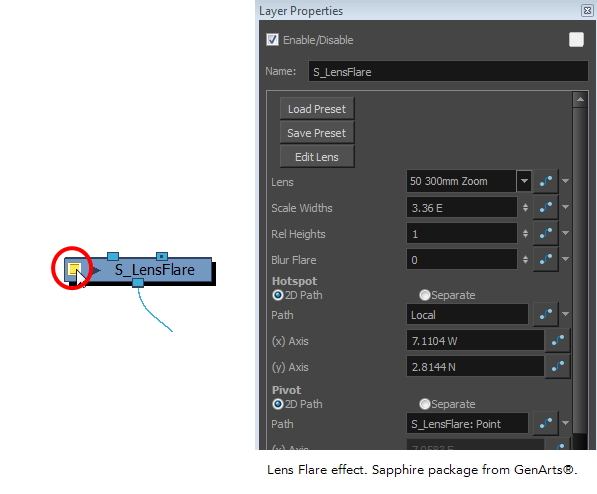
- In the Node view, click the effect node's yellow square to open the Layer Properties window and adjust its parameters.
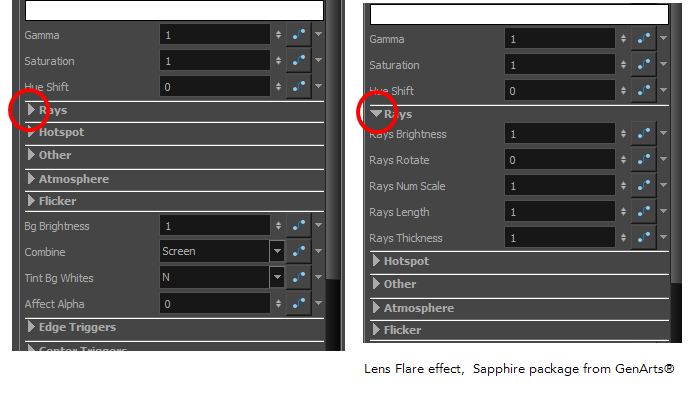
In the Layer Properties window, you can expand some parameter sections to see many more controls.
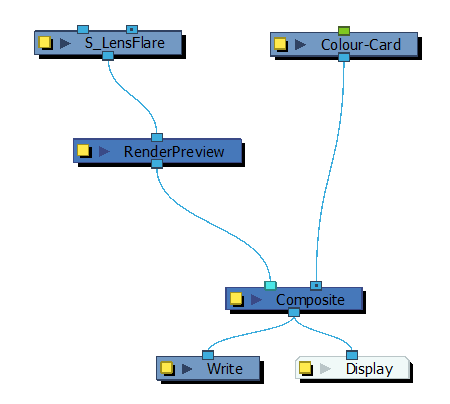
- Adjust the effect's visual control in OpenGL mode by dragging a Render Preview node from the Node Library view to the Node view. Connect it between the plugin and the Composite nodes.
- In the Camera view, enable the OpenGL
 mode to see the rendered effect in OpenGL.
- To display the controls, in the Node view, select the plugin effect node and do one of the following:
- In the Camera toolbar, click the Show Control
button.
- From the top menu, select View > Show > Control.
- Press Shift + F11 (Windows/Linux) or ⌘ + F11 (macOS).
The controls appear.
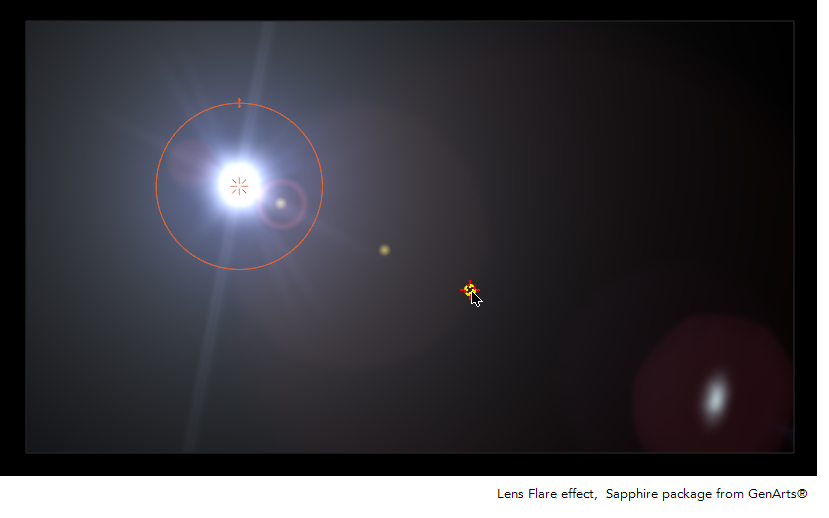
- In the Tools toolbar, select the Transform
 tool or press Shift + T.
- In the Camera view, adjust the controls.
Time Estimated 15 mins
Difficulty Level Advanced
Topics List
- Underwater Effect Activity Introduction
- Activity 1: Importing and Setting the Seabed
- About OpenFX
- Installing an OpenFX Package
- Using OpenFX Plugins
- Activity 2: Creating the Water Surface
- Activity 3: Creating Underwater Distortions
- Activity 4: Creating Sunbeams
- Activity 5: Adding Filters
- Activity 6: Adjusting the Lights and Transitions Effects