- Modules
- Drawing with Harmony Essentials
- Activity 1: Basic Drawing
Activity 1: Basic Drawing
T-HFND-004-017
Now that you have covered the basics, it's time to start drawing! Once you have opened the project for this module, you can start using the drawing tools to do some simple sketching. Each layer in the project is comprised of a simple exercise for a specific tool with instructions, a reference drawing, and a space for your own drawing. You will quickly become familiar with the drawing tools.
Material
- MO-HFND-004/drawing-tools-ess/drawing-tools-ess.xstage
How to draw
- Start Harmony and open this project: MO-HFND-004/drawing-tools-ess/drawing-tools-ess.xstage.
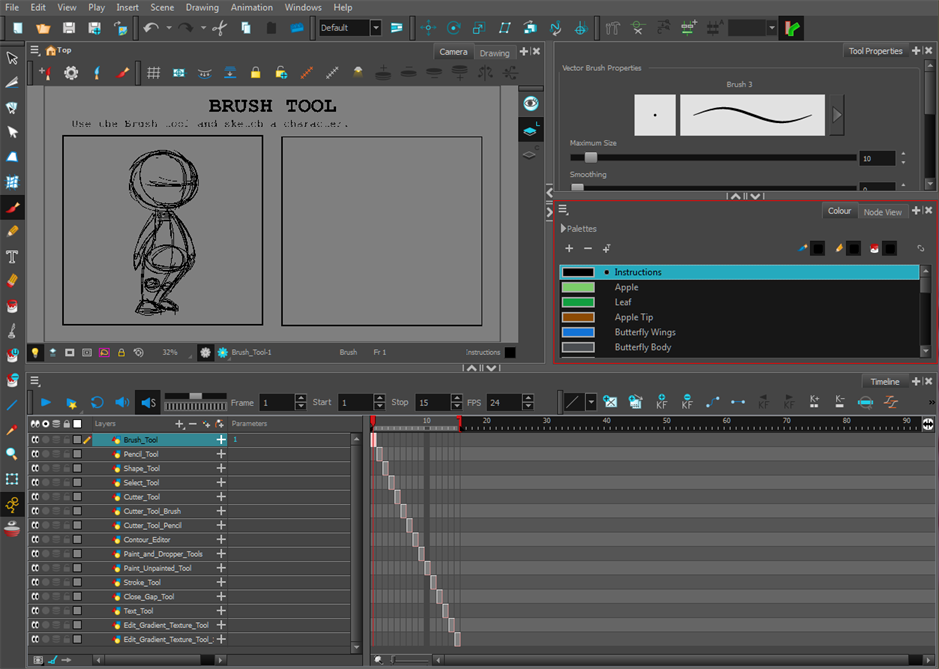
- In the Timeline or Xsheet view, click the first cell of the drawing layer.
The Brush_Tool layer is selected and its contents are displayed in the Camera view.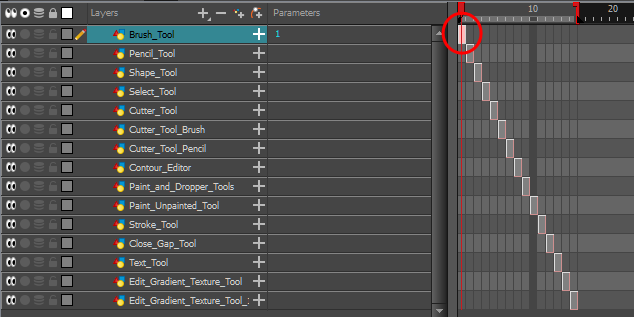
- In the Timeline or Xsheet view, select the cell of each layer to see its contents and instructions.
- Go back to the Brush_Tool layer and select its cell in the Timeline or Xsheet view.
- In the Tools toolbar, select the Brush
 tool.
tool. - Change the tool properties by using the Tool Properties view and modifying the line thickness of your brush.
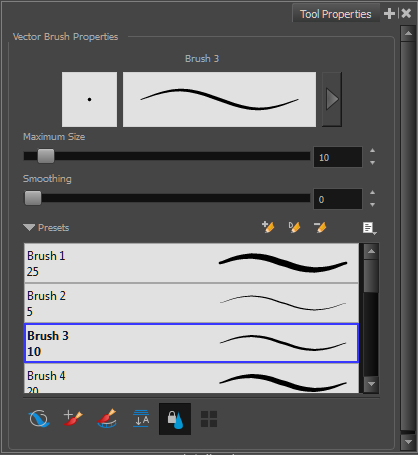
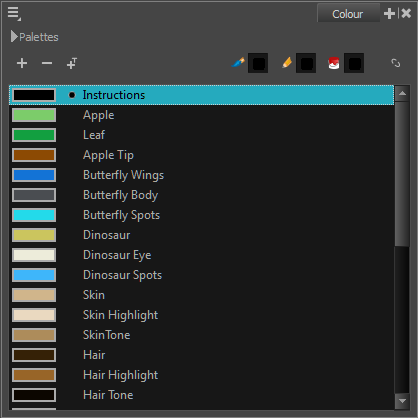
- To change the colour of the brush, click a colour swatch in the Colour view.
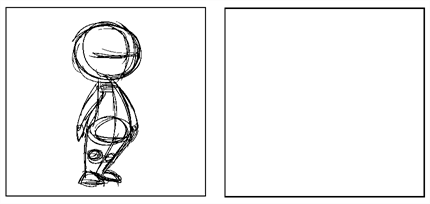
- In the Camera view, start sketching in the box beside the character. Create a similar drawing or even something completely different!
- Use the Eraser
 tool if needed.
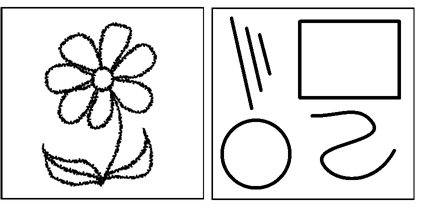
- Complete the drawings for the Pencil and Shape tool layers. Use the Pencil
 and shape tools (Ellipse
  , Rectangle
  , Line
  and Polyline
  ).
).
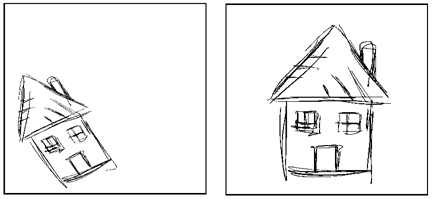
- Now that you have done some drawing, you can select and transform objects. In the Timeline view, select the cell for the Select_Tool layer.
- In the Tools toolbar, select the Select
 tool or press Alt + S.
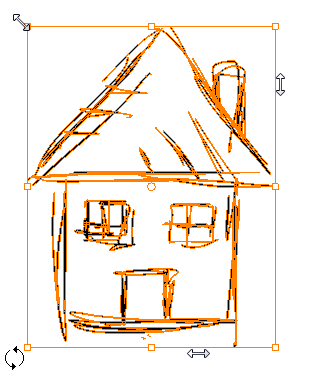
 - Select the drawing on the right and scale, skew and rotate the drawing until it looks like the drawing on the left. Use the controls located around the bounding box.
- Next, complete the three exercises for the Cutter
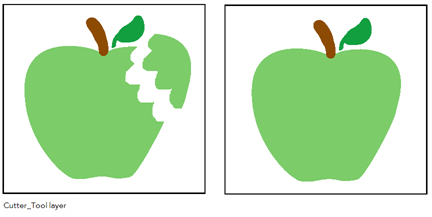
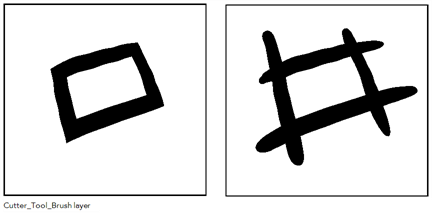
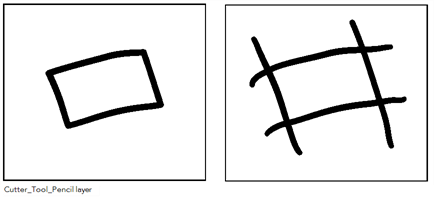
 tool. In the Timeline view, these are the layers to work on: Cutter_Tool, Cutter_Tool_Brush, and Cutter_Tool_Pencil. Follow the instructions included in each exercise.
- In the Timeline view, select the cell on the Contour_Editor layer. Use the Contour Editor
 tool and starting with the basic ellipse shape, change it into a heart. Click the ellipse on the right to display its control points and start editing the shape.
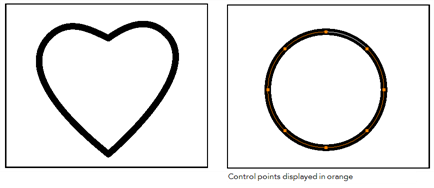
- Work your way through each layer in the Timeline view to practice your drawing skills and get a feel for how to use each of the tools.
- Save
 your project.
Time Estimated 45 mins
Difficulty Level Beginner
Topics List
- Drawing with the Brush or Pencil Tool
- About the Tool Properties View
- About the Brush Tool
- Drawing with the Brush Tool
- Drawing with the Pencil Tool
- About the Select Tool
- Selecting
- About Shape Tools
- Drawing with the Rectangle, Ellipse, and Line Tools
- About the Cutter Tool
- Cutting Artwork
- About the Contour Editor Tool
- Reshaping a Drawing with the Contour Editor Tool
- About the Centerline Editor
- Reshaping Brush Strokes
- About the Eraser Tool
- Erasing
- Modifying the Eraser Settings
- Painting Drawings
- About the Stroke Tool
- Drawing with the Stroke Tool
- Closing Gaps
- About the Edit Gradient and Texture Tool
- Using the Edit Gradient and Texture Tool
- Activity 1: Basic Drawing