- Modules
- Ink and Paint
- Closing Gaps
Closing Gaps
T-HFND-004-014
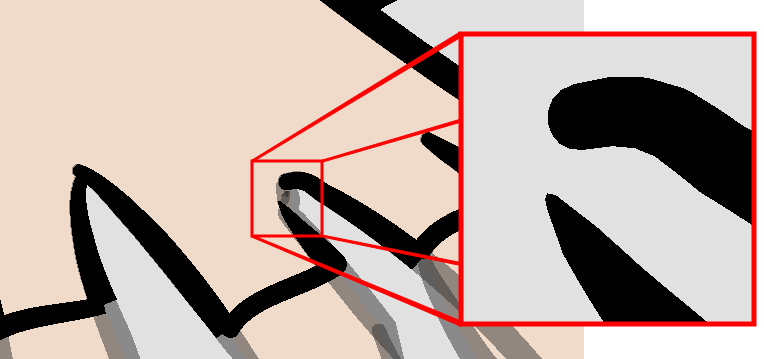
When painting, you may notice that some drawing areas are not closed. To close the zone, you can draw the missing line with the Brush or Pencil tool, or close the gap with an invisible line using the Close Gap tool.
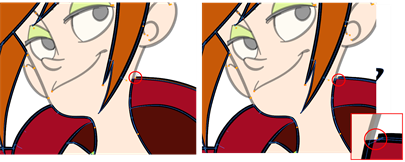
The Close Gap tool lets you close small gaps in a drawing by creating small, invisible strokes between the two closest points to close the colour zone. You do not need to trace directly over the gap. You can draw it a few millimeters away. The two closest points automatically close the gap.

How to close gaps
- Select View >
Show > Show Strokes or press K to see a preview of the result.
- In the Tools toolbar, select the Close Gaps
 tool.
tool.
- In the
Camera or Drawing view, trace a line near the gap to be closed. Your strokes will be invisible. - Enable the Auto-Flatten
 option in the Tool Properties view if you want your strokes to be flattened with your artwork. They will cut overlapping drawing strokes in two pieces.
The gap automatically closes.

Authors
Marie-Eve Chartrand
Christopher Diaz
chrisdiazart.com
Time Estimated 15 mins
Difficulty Level Beginner
Topics List
- Activity 1: Loading a Colour Model in the Model View
- Picking a Colour with the Dropper Tool
- About Art Layers
- Switching between Art Layers
- Creating Colour Art from Line Art
- Activity 2: Creating Strokes in the Colour Art for Ink and Paint
- Closing Gaps
- Painting Drawings
- Inking Lines
- Repainting
- Creating Break Triangles
- Protecting Colours
- Activity 3: Painting and Inking Using Apply to Multiple Drawings
- Verifying Painted Zones
- Activity 4: Using the Backlight to Check Paint