Customizing Toolbars
T-SBFND-003-009
Some of the toolbars can be customized with your favourite tools and options. You can also organize the toolbars to suit your working preferences.
These are the toolbars that can be customized:
- Layer
- Storyboard
- Navigation
- Sound
- Tools
The Tools toolbar can only be customized if the Flat Tools Toolbar preference is enabled. This preference allows you to display all the tools instead of having some of them grouped as drop-downs.
How to customize a toolbar
- Right-click (Windows) or Ctrl+click (Mac OS X) on any button in a toolbar and select Customize.
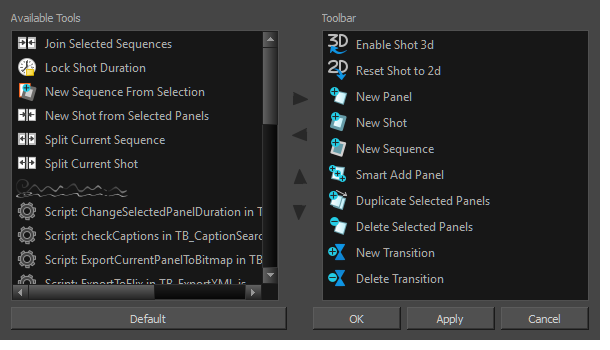
The Toolbar Manager dialog box opens.

- Do any of the following:
- Add a new icon to a toolbar: Select a tool/command from the Available Tools list and click the Right
Arrow button.
- Remove an icon from a toolbar: Select a tool/command in the Toolbar list and click the Left
Arrow button to remove it from the toolbar.
- Reorder icons in a toolbar: Select a tool/command in the Toolbar list and click the Up
or Down
Arrow buttons to reposition it.
- Click Apply to apply the changes without closing the Toolbar Manager dialog box or click OK to apply the changes and close the window.
How to enable the Flat Tools Toolbar preference
- Open the Preferences dialog box by do:
- Select File > Preferences (Windows) or Storyboard Pro > Preferences (Mac OS X).
- Press Ctrl+U (Windows) or ⌘+ , (Mac OS X).
- Select the Global UI tab.
- In the Toolbars section, select the Flat Tool Toolbar option.
- Restart Storyboard Pro. Once the software is restarted, you can customize the Tools toolbar.
Time Estimated 10 mins
Difficulty Level Beginner