- Modules
- Four-Legged Walk-Cycle Animation
- Activity 7: Setting the Animation on a Peg
Activity 7: Setting the Animation on a Peg
T-EXC-002-013
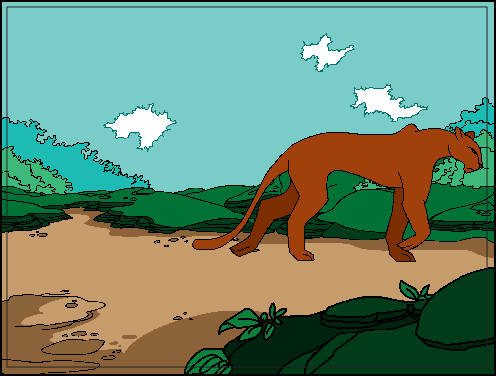
You're now ready to put the panther on a peg. The peg will be used to move the full drawing element from left to right, so that it looks like the panther is crossing the screen!
Material
You can download the provided sample material for this module and use the following templates to use as a reference to compare with your final sketch. Don't forget to unzip (uncompress) the files before placing them in your library.
- Your panther scene created in the previous exercise
- MO-EXC-002/04-panther-colour.tpl
- MO-EXC-002/06-background-colour.tpl
- MO-EXC-002/07-panther-peg.tpl
How to set the character on a peg
- Open your Panther scene. If you do not have it, import the 04-panther-colour.tpl and 06-background-colour.tpl templates.
- Before you add a peg, you need to make your scene longer. Crossing the screen will take about 5 seconds, so you will add frames to your scene by dragging the red handle at the top of the Timeline.

- Next, you also need to duplicate the animation walk cycle a few times to fill it until you also have 120 frames of animation. To do this, select the full 32 frames of animation.

- Copy the frames with the Copy
 button. Click on frame 33. Then paste the drawings with the Paste
  button.

- Repeat the previous step until all the empty frames are filled up to frame 120.
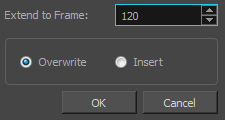
- You also need to extend the exposure of the background. Right-click the background drawing and select Extend Exposure. Enter 120 into the Extend to Frame field.

- You are now ready to add the peg to the Panther_Cleanup drawing element. Select the drawing element, click the Add Peg button.
The Peg Element is added and the Panther_Cleanup Element is attached to it.

- Select the first frame of the peg element and click the Add Keyframe
 button.
A keyframe is added to the peg. A small dot appears on the Timeline.

- While still on frame 1 of the peg, select the Transform
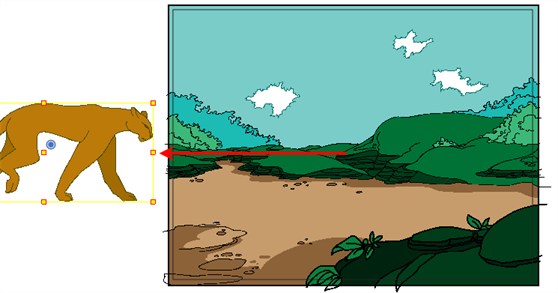
 tool. Hold down the Shift key and drag the panther to the left side of the scene, out of the camera window.

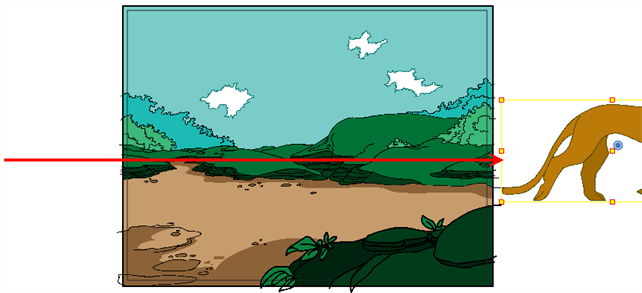
- In the Timeline view, go to the very last frame of the peg, frame 120. Using the Transform
 tool, drag the panther to the right side of the scene out of the camera frame.

- Save
 your project.
- Play back
 your animation and test/correct your work. You can also click the Loop
  button to view your animation in loops while noting the corrections you want to make.

NOTE: If you have issues with the previous steps, import the 07-panther-peg.tpl template.
Time Estimated 20 mins
Difficulty Level Beginner
Topics List
- Understanding How Four-legged Animals Move
- Anatomy of a Four-legged Walk Cycle
- Photo and Video References
- Four-legged Walk Basics
- Analyzing Four-legged Walk Animations
- Rough versus Clean
- Activity 1: Observation
- Activity 2: Drawing the Key Poses
- Activity 3: Adjusting the Paws for a Pan Background
- Activity 4: Creating In-betweens
- Activity 5: Cleaning and Painting Your Animation
- Activity 6: Creating a Background
- Activity 7: Setting the Animation on a Peg
- Activity 8: Animating a Bear and Dog (Optional)