- Modules
- Creating a Rig Template
- Activity 6: Grouping and Templating
Activity 6: Grouping and Templating
T-RIG-001-011
In this topic, you will learn how to group your blank rig template, then save it to your library.
Material
- MO-RIG-001/01-blank-rig-template.tpl
How to create a template from the Node view
- In the Library view, select the folder in which you want to store the template.
- If the library folder is locked, right-click and select Right to Modify.
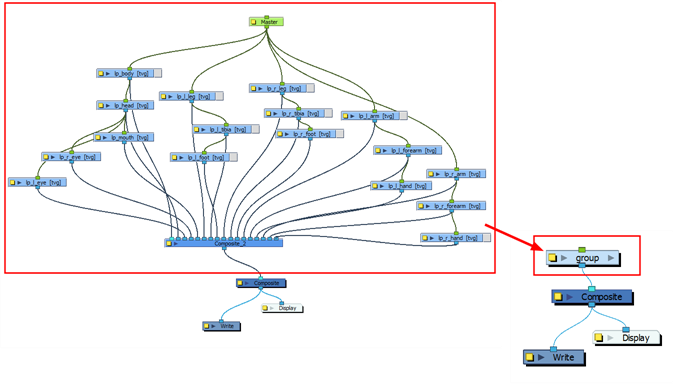
- In the Node view, select the nodes for creating the template and group them. It is very important to group your cut-out character rig before storing it in the Library, so your files are organized.
- From the top menu, select Edit > Group > Group Selected Layers or press Ctrl + G (Windows/Linux) or ⌘ + G (Mac OS X). Make sure you have a composite under the connections before grouping, otherwise there will be numerous connections going outside the group.

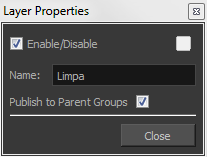
- In the Node view, click on the group node's yellow button to open the Layer Properties window.

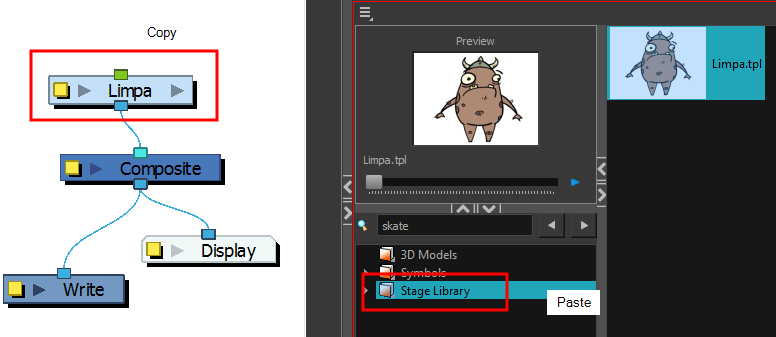
- In the Node view, select the group node and copy and paste it inside the template folder in the Library view or press Ctrl + C and Ctrl + V (Windows/Linux) or ⌘ + C and ⌘ + V (Mac OS X).

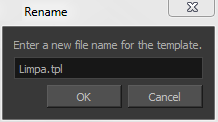
- In the Rename dialog box, give the new template a name and click OK.

- Stacey Eberschlag
- Senior Solutions Specialist
- toonboom.com
Author
Time Estimated 10 mins
Difficulty Level Intermediate
Topics List
- About Rig Types
- About Simple Rigs
- About Drawing Hierarchy Rigs
- About Peg Hierarchy Rigs
- Activity 1: Setting Preferences
- About Character Breakdown
- Activity 2: Adding Drawing Layers
- Activity 3: Naming Drawing Layers
- Node View
- Node Library View
- Adding Nodes
- Activity 4: Adding Composite Nodes
- Activity 5: Adding Pegs
- Activity 6: Grouping and Templating