- Modules
- 3D Storyboard
- Snapping to Surface or Ground
Snapping to Surface or Ground
T-SBADV-011-018
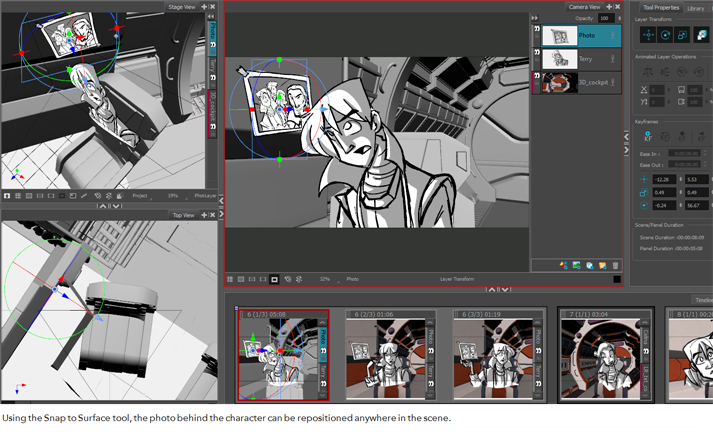
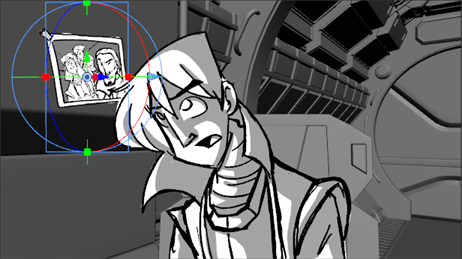
When working in Storyboard Pro, you can snap a 2D layer or 3D object to the 3D surface directly below it. Contact between the layer or 3D object is maintained with the surface no matter what changes you make to your selection. This makes it much faster to block out shots and also works with 2D artwork.
When the layer or 3D object comes into contact with the surface, its pivot connects to the 3D surface directly below it if you are moving the mouse. If your selection is a 2D layer, you can move it on the X and Z axes; the Y axis is controlled by Storyboard Pro allowing for quick placement around the ground plane. Also, the layer automatically rotates to be parallel to the surface, which is useful with 2D layers. In the Tool Properties view, you can disable the rotation parameter if you do not want to the rotation to occur.
For both 2D layers and 3D objects, the angle is retained. If needed, you can change the rotation using the rotation controls. When snapping a layer, its lowest point snaps to the 3D surface.

How to snap to a surface
- Select the layer that contains the object with which you will snap to a surface.
- In the Tools toolbar, Layer Transform
 button.
 - In the Tool Properties view, click the Snap to Surface
 button.
The 3D navigation controls appear in the Camera and Stage views.

- In the Tool Properties view, how you want to use the transform options in Layer Transform controls.

- Translate: Activate this option to move the 3D object. Deactivate to keep the object in place.
- Rotate: Activate this option if you want the 3D object to change its angle to match that of the 3D surface beneath it. Deactivate to keep the angle of the object.
- Scale: Activate this option if you want to change the size of the 3D object. Deactivate to keep the size of the object.
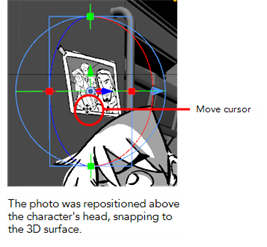
- Position the cursor close to the centre pivot and when you see the Move Cursor
 appear, click and drag the 3D object to a new location. As you move, the object will rotate and scale (if you selected these options in the Tool Properties), and adhere to the 3D surface underneath it.

- Continue moving the object around until you are satisfied with its placement.
- Deactivate the tool by clicking the Snap to Surface
 button again.
How to snap to the ground
- Select the layer that contains the object with which you will snap to the ground.
- In the Tools toolbar, Layer Transform
 button.
 - In the Tool Properties view, click the Snap to Surface
 button.
The 3D object snaps to the 3D surface directly beneath it.
Time Estimated 5 mins
Difficulty Level Intermediate
Topics List
- About 3D Objects
- Determining the Scale Factor
- About Pre-scaling 3D Objects
- Importing 3D Objects
- Replacing 3D Objects
- Adding 3D Objects
- Activity: Importing a 3D Model
- Displaying 3D Objects
- Positioning, Rotating and Scaling 3D Objects
- About 2D and 3D Object Interaction
- Creating 2D Layers on Surface of 3D Objects
- Activity: Positioning a 3D Object in a Panel and Draw on the Surface
- Maintaining the Size of Elements
- Positioning 3D Nodes
- Resetting a 3D Object's Position
- Snapping to Surface or Ground
- Activity: Separating 3D Subnodes on Different Layers