T-HFND-006-009
You can easily increase or decrease the exposure for a selected cell range.
How to set the exposure
-
In the Timeline or Xsheet view, select the cell range on which you want to set the exposure.
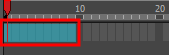
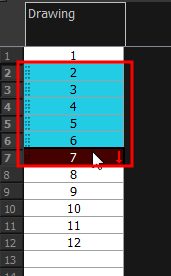
- Do one of the following:
- Select Animation > Cell > Set Exposure to > Set Exposure to 1, 2, 3, or Set Exposure.
- In the Timeline toolbar, click one of the Set Exposure


buttons. Note that you may have to add this button to your toolbar by right-clicking on it and selecting Customize.
- In the Xsheet view, right-click and select Exposure > Set Exposure to > Set Exposure to 1, 2, or 3, or Set Exposure.
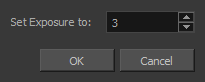
- If you chose the Set Exposure option, the Set Exposure dialog box opens. Enter the number of frames you want the drawings to display and click OK.
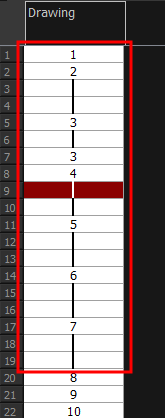
Topics List
- About Paperless Animation
- Timeline View
- Xsheet View
- About Marking Drawings
- Marking Drawings
- Extending the Exposure of Previous Drawings
- Using the Onion Skin
- Typing Exposure
- Creating Cycles
- Setting the Exposure
- Cleaning Animation
- Using the Light Table
- Activity 1: Rough Animation
- About Duplicate Layers
- Duplicating Layers
- About Colour Palettes
- About Colour Swatches
- Adding a Colour Swatch
- Adding a Gradient Colour Swatch
- Adding a Texture Colour Swatch
- Painting Multiple Drawings
- Activity 2: Changing the Colour of the Animation
- Activity 3: Adding a Colour Card and Exporting