- Modules
- Basic Effects with Harmony Premium
- Activity 1: Staging a Night Scene
Activity 1: Staging a Night Scene
T-HFND-010-014
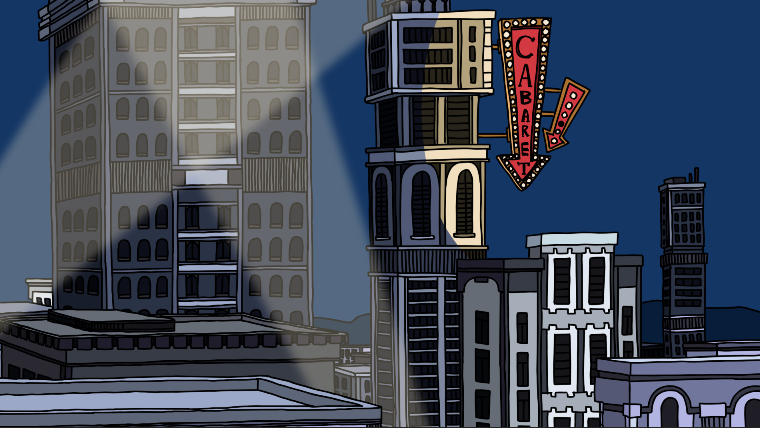
In this activity, you stage a night scene by importing a city background and animating search lights. Use the provided sample material and the knowledge acquired in this module to complete the steps.

Material
- MO-HFND-010-Library/01-city-background.tpl
- MO-HFND-010-Library/02-search-lights.tpl
- MO-HFND-010-Library/03-search-light-pivots.tpl
- MO-HFND-010-Library/04-search-light-animation.tpl
How to stage your scene
- Create a new Harmony project and name it: night_scene. Make sure to select the HDTV_1080p24 resolution.
- Select Scene > Scene Length and set the number of frames to 120 and click OK.
- In the Library view, import the following templates:
- 01_City_Background.tpl
- 02_Search_Lights.tpl
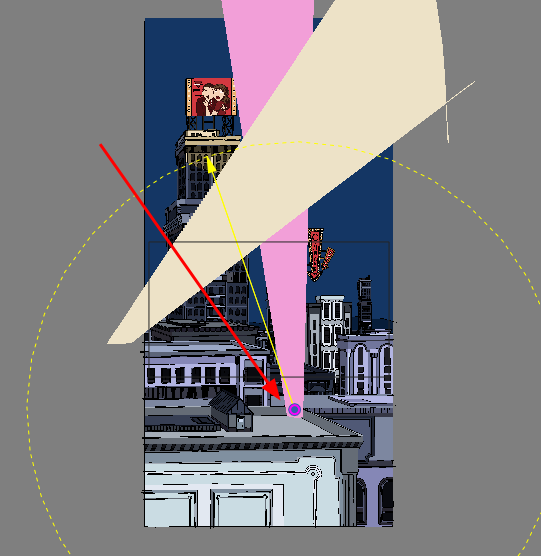
- Using the Rotation tool, set the pivot for each search light layer.

NOTE: If you have issues with any of the previous steps, simply import the 03-search-light-pivots.tpl template from the Library to the Camera view.
- Using the techniques your learned in this module, animate both search lights scanning the sky.
- Don't forget to use the Transform tool, motion keyframes, and easing,
- In the Timeline view, select each frame where you want your search light to reach its furthest point and add a keyframe. Click the Add Keyframe
button for each key pose.
- Make sure each keyframe is a motion keyframe.
- Use the Transform tool to rotate your search light on each keyframe
- Use the Set Ease For Multiple Parameters
function to ease out the motion.
- Repeat these steps for both search lights. You can animate them searching opposite directions, not quite at the same speed.
NOTE: If you have issues with any of the previous steps, simply import the 04-search-light-animation.tpl template from the Library to the Camera view.
- Save your project.
-
Play back
 your animation.
Time Estimated 25 mins
Difficulty Level Beginner
Topics List
- About Effects
- Node View
- Node Library View
- Adding Effects
- About Input and Output Ports
- Connecting Effects
- Blur
- Transparency
- Cutter
- Using the Cutter Node
- Glow Node
- Highlight Node
- About Effects Preview
- Previewing Effects in Render Mode
- Playing Back Effects
- Exporting a QuickTime Movie
- Activity 1: Staging a Night Scene
- Activity 2: Adding Blurs and Transparencies
- Activity 3: Masking a Light Source