- Modules
- Colour Styling
- Activity 3: Painting a Colour Model
Activity 3: Painting a Colour Model
T-DES-003-023
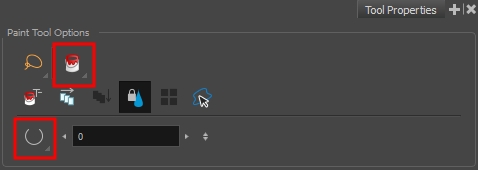
Once you have finished cleaning up your character, it's time to add some colours to it. For this step, you will use the Paint tool. When you select this tool, its properties become available in the Tools Properties view. Here are a couple of things you should know about this tool that'll help you for the following task:
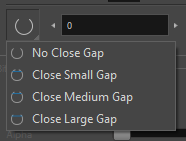
When closing gaps in your drawing, there are four modes: No Close Gap, Close Small Gap, Close Medum Gap, and Close Large Gap.
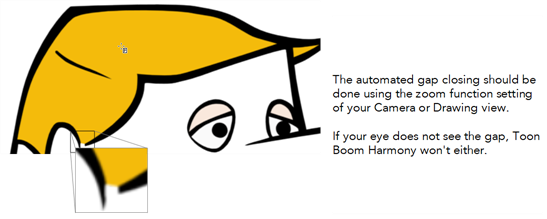
The Automatic Close Gap option is used when painting drawings with small gaps. Instead of having to close them manually with the Brush or Close Gap tool, Harmony will analyze the drawing and close the gaps while you paint according to the mode you selected.
Material
You can download the provided sample material for this module and use the following templates to use as a reference to compare with your final sketch. Don't forget to unzip (uncompress) the files before placing them in your library.
- Your CharacterDesign scene created in the Character Design module (MO-DES-001)
- MO-DES-003/01-terry-colour-palette.tpl
- MO-DES-003/02-terry-colour-model.tpl
How to colour your character
- Start Harmony.
- Open your CharacterDesign project.
- In the Timeline view, right-click on the clean layer and select Duplicate Selected Layers.
An identical layer named (layername)_1 is added to the Timeline view.
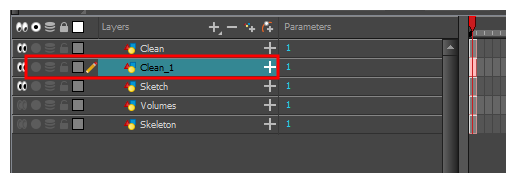
- Rename the new layer: Colour.
- Hide all the unnecessary layers and keep only the Colour layer visible.
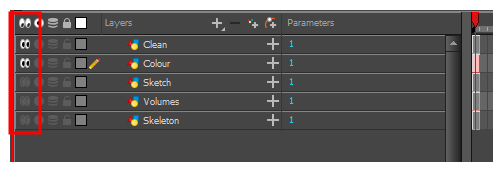
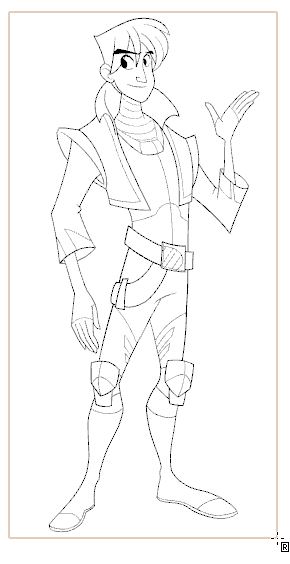
- In the Timeline view, select the first drawing of the Colour layer. You should see your cleaned up character displayed in the Camera view.
- In the Colour view, click the expand button to display the Palette list.
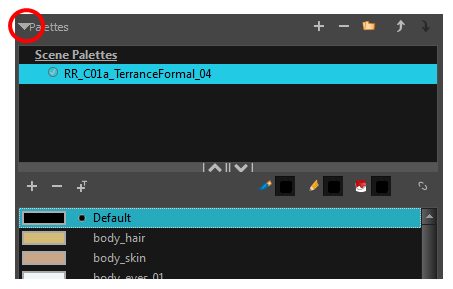
- In the Drawing tools toolbar, select the Paint
 tool and switch to the Repaint
  mode in the Tools Properties view.
- In the Colour view, select the black default colour from your character’s palette.
- In the Camera view, drag a selection around the entire character. This will repaint the character's outline and ensure that all of its colours are from the same palette.
- In the Paint
 Tool Properties view, switch to the Paint Unpainted
  mode. This will prevent you from accidentally repainting the lines.
- In the Camera view, paint part of your character with the selected colour swatch.
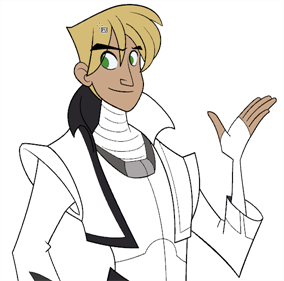
Remember, the colour of the painted shape and the colour swatch that was used to colour it with are linked. They share a colour ID. This means that if you want to change a specific colour, you can modify the colour swatch and all of the shapes you painted with that colour swatch will automatically change to match the new colour. There's no need to recolour!
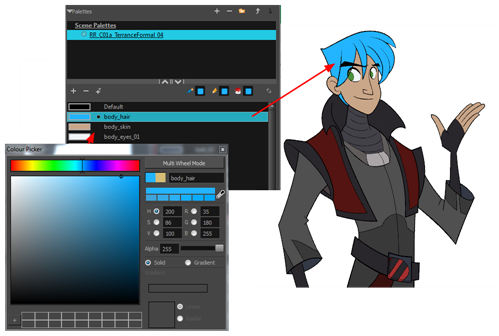
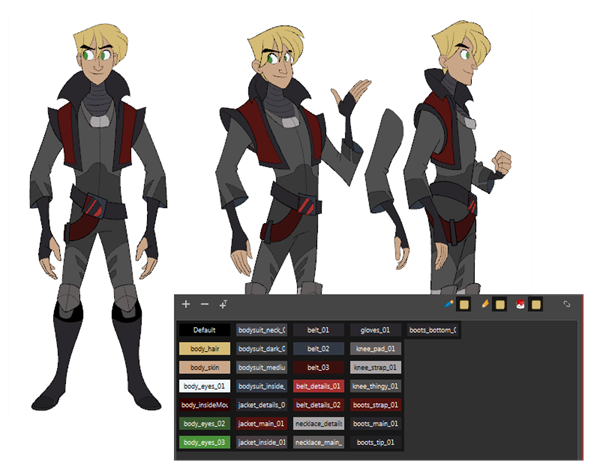
- Repeat the steps until you have a colour swatch for each part of your character, and your character is completely painted.
Time Estimated 30 mins
Difficulty Level Beginner
Topics List
- Introduction to Colour Styling
- Design Organization
- Basic Colour Theory
- Colour Anatomy
- Standard Colour Wheel
- Yurmby Colour Wheel
- Colour Schemes
- Monochromatic Colour Scheme
- Complementary Colour Scheme
- Analogous Colour Scheme
- Triadic Colour Scheme
- Split Complementary Colour Scheme
- Tetradic Colour Scheme
- Warm and Cool Colour Scheme
- How Our Brain Understands Colours
- Building a Simple Palette
- Preparing Your Research
- Adding to a Colour Scheme
- Thumbnailing
- Gamut Mapping
- Activity 1: Creating a Colour Palette
- Activity 2: Creating a Five-Colour Palette
- Activity 3: Painting a Colour Model