Activity 1: Creating the Animatic
T-SBFND-009-014
Creating the animatic for a project is an exciting time! Now you can really see how your story is shaping up. The animatic you create is also great for pitching your story and getting feedback. First, you will create camera moves.
Material
| • | MO-SBFND-009\animatic.sboard |
How to create a camera moves
- Start Storyboard Pro.
- In the Welcome screen, open the MO-SBFND-009\animatic.sboard project file. Perform a Save As and add your initials to the end of the project name. Example: animatic-dm.sboard.
The project opens.
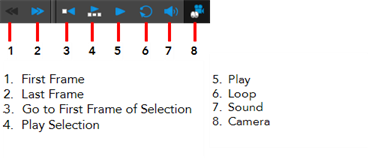
- Use the Playback toolbar to navigate through the project. Notice the camera motions and where they are placed on a panel. Also notice the placement of the sound clips.
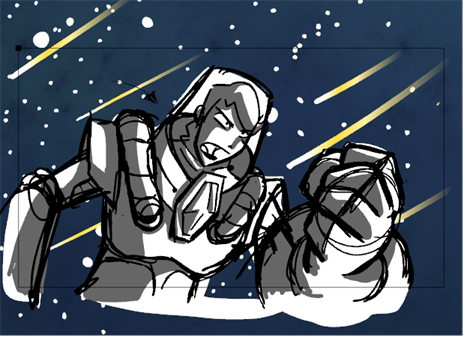
- In the Timeline view, select a panel.
In the Stage view, the black camera frame displays.
- In the Tools toolbar, click the Camera
 button.
 - Set the first and last camera keyframes:
- In the Camera Tool Properties, click the Add Keyframe at Beginning of Current Panel
button.
- Add the last keyframe by clicking the Add Keyframe at End of Current Panel
button.
In the Stage view, the camera frame is displayed as a green rectangle that matches the aspect ratio of the project resolution. On the last camera keyframe, the camera frame is displayed as a red rectangle.
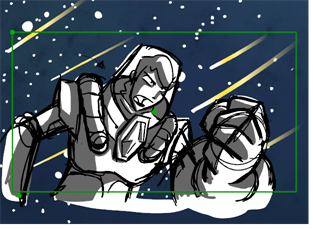
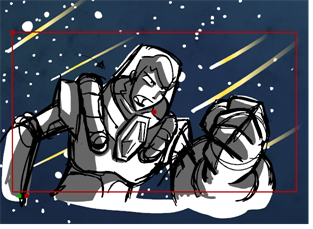
In the Timeline view, a blue half-diamond displays at the beginning of the panel and a full diamond (selected in blue below) displays at the end.

- To get an idea of what is going on in this panel, do the following:
- Press 1 to zoom out of the Camera view to get an overall view. Press 2 to zoom in. Reset the zoom factor by pressing Shift+Z.
- Move through the clip by dragging the playhead or clicking the Play
button on the Playback toolbar.
- View the panel frame-by-frame by pressing the comma (,) and period (.) keys on your keyboard.
- In the Camera status bar, click the Reset View
button to reset the view.
- Select the first camera keyframe and do any of the following to modify it:
- Truck In, Truck Out: Position your cursor at the top-left corner of the green camera frame and drag when you see the Truck
icon.
- Move Camera: Position your cursor on any edge of the frame and drag when you see the Drag
icon. You can also drag the frame from the centre pivot point.
In the first camera keyframe (green), the camera was trucked in and moved to frame the character's face.
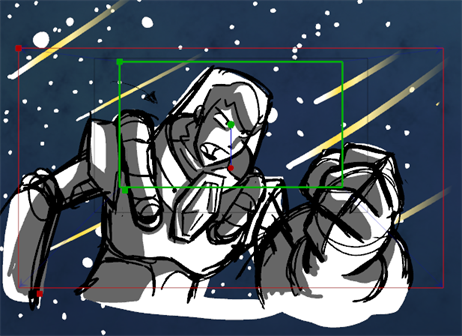
- In the Timeline view, move the red playhead to a frame between the first and last camera keyframes.
- In the Camera Tool Properties, click the Add Keyframe at Beginning of Current Frame
 button to add a keyframe.
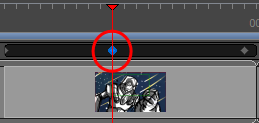
- Now rotate the camera to add interest to the scene. Position your cursor at any corner of the frame and drag when you see the Rotate
 icon.
icon.
The keyframe (in blue below) was resized to match the first camera keyframe and then rotated.
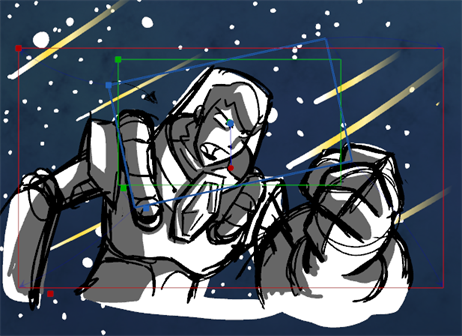
- Scrub through the panel to see how it looks and adjust it to your liking. Then add more keyframes to this panel until you are satisfied with the camera moves.
- (Optional) If the panel you chose is within a scene that contains multiple panels, you can spread the camera motions you created. Simply select the keyframe and drag.
-
Click the Play
 button to see how your project is progressing.
 - Save
 your project.
Time Estimated 30 mins
Difficulty Level Beginner
Topics List
- About the Panel Duration
- Changing the Panel Duration
- About the Camera
- About Camera Moves
- Animating Keyframes
- Copying and Pasting the Camera
- Spreading Camera Motions Across Panels
- Animating Layers
- Adjusting the Pivot Point of Layers
- About Sound
- Importing Sound Clips
- Adjusting the Sound Length and Timing
- Locking Audio Tracks
- Activity 1: Creating the Animatic
- Activity 2: Animating Layers
- Activity 3: Adding Sound
- About Markers
- Creating Markers on a Current Frame
- Editing Markers
- Displaying Marker Tooltips
- Moving Markers
- Deleting Markers
- Activity 4: Adding Scene Markers
- Flipping Scenes
- Activity 5: Flipping a Scene