Activity 3: Adding Sound
T-SBFND-009-016
The last step is to add sound to your animatic.
Material
| • | MO-SBFND-009\sound.sboard |
How to add sound
- Open the MO-SBFND-009\sound.sboard project. Perform a Save As and append your initials to the project. In the Timeline view are several audio tracks; one for each character and one for sound effects. You will be importing the sound files, placing them on audio tracks and editing them.

- In the Playback toolbar, click the Sound
 button so you can hear the sound, then click the Play
  button.
- Delete the three audio tracks. You will be creating your own audio tracks and filling them with sound files.
- On your computer, open the following folder: MO-SBFND-009\sound-files.
There are 12 sound files (in .wav format) for importing into your project. Play each sound file to familiarize yourself with the dialogue.
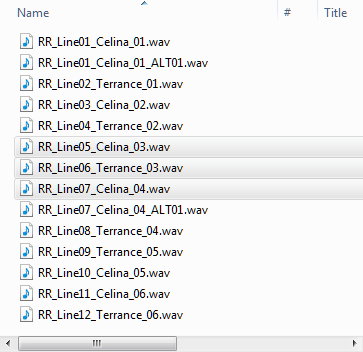
- In Storyboard Pro, select Sound > New Audio Track to add a new audio track. Add two more audio tracks for a total of three. Track A1 is for the Celina character, track A2 is for Terrance and track A3 is for sound effects.

- Select each panel in the Timeline view and look at the Panel view to see if there is any dialogue or sound effect to add.
Scene 4 contains dialogue for the Celina character.

- Select panel 1 in scene 4. Right-click the A1 audio track below it and select Import Sound Clips.

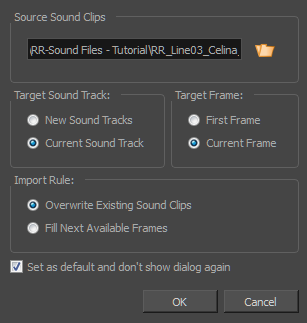
The Import Sound Clips dialog box displays.
- Set the following options:
- Current Sound Track: Since you already created audio tracks, the audio can be placed in the currently selected track.
- Current Frame: This aligns the sound clip with the selected panel.
- In the Import Rule section, there's nothing on the audio tracks so it doesn't really matter which option you choose here.
- Set as default and don't show dialog again: This is so you don't have to reset the options every time you import a sound clip.
- Right-click the A1 audio track again and select Import Sound Clips again and select the RR_Line01_Celina_01.wav clip and click Open.
The sound clip is placed on the audio track and aligned with the position of the playhead.
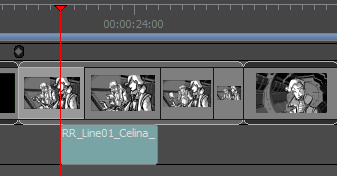
- Right-click the sound clip and select Enable Sound Scrubbing. Drag the playhead to scrub through the clip to verify that it's the correct dialogue for the selected panel.
- Adjust the position of the sound clip to match any mouth movement in the panel by dragging it along the audio track. As you drag the sound clip, the blue line is displayed to help you align the clip with the panel.
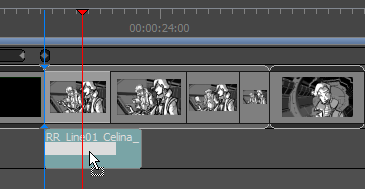
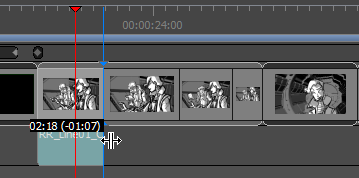
- Adjust the length of the sound clip by placing your cursor on one edge of the clip. When you see the move cursor, drag the clip.
The end of the original sound file is cut.
- Place the remaining sound clips in their respective audio tracks and edit their length and timing.
-
Click the Play
 button to play your project.
 - Save
 your project.
Time Estimated 30 mins
Difficulty Level Beginner
Topics List
- About the Panel Duration
- Changing the Panel Duration
- About the Camera
- About Camera Moves
- Animating Keyframes
- Copying and Pasting the Camera
- Spreading Camera Motions Across Panels
- Animating Layers
- Adjusting the Pivot Point of Layers
- About Sound
- Importing Sound Clips
- Adjusting the Sound Length and Timing
- Locking Audio Tracks
- Activity 1: Creating the Animatic
- Activity 2: Animating Layers
- Activity 3: Adding Sound
- About Markers
- Creating Markers on a Current Frame
- Editing Markers
- Displaying Marker Tooltips
- Moving Markers
- Deleting Markers
- Activity 4: Adding Scene Markers
- Flipping Scenes
- Activity 5: Flipping a Scene