Editing Markers
T-SBFND-009-019
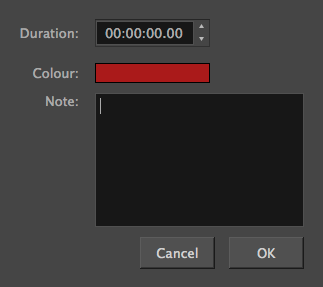
Once a scene marker is created, you can modify the duration of the marker, modify its colour, apply a note to identify it, or move it.
The following image is an example of an edited marker:

How to edit a marker
- In the Timeline view, select a marker.

- Do one of the following:
- Select Storyboard > Markers > Edit Marker.
- Double-click on the marker.
- Right-click in the frame counter area and select Edit Marker.
The Marker dialog box opens.

- Make your changes.
NOTE: For more information on the Marker dialog box parameters, see Marker Dialog Box.
- Click OK.
Time Estimated 5 mins
Difficulty Level Beginner
Topics List
- About the Panel Duration
- Changing the Panel Duration
- About the Camera
- About Camera Moves
- Animating Keyframes
- Copying and Pasting the Camera
- Spreading Camera Motions Across Panels
- Animating Layers
- Adjusting the Pivot Point of Layers
- About Sound
- Importing Sound Clips
- Adjusting the Sound Length and Timing
- Locking Audio Tracks
- Activity 1: Creating the Animatic
- Activity 2: Animating Layers
- Activity 3: Adding Sound
- About Markers
- Creating Markers on a Current Frame
- Editing Markers
- Displaying Marker Tooltips
- Moving Markers
- Deleting Markers
- Activity 4: Adding Scene Markers
- Flipping Scenes
- Activity 5: Flipping a Scene