- Modules
- Drawing and Colour
- Activity 2: Drawing Scenes
Activity 2: Drawing Scenes
T-SBFND-008-018
The next step in your storyboard project is to start thumbnailing the scenes in each panel. The idea is to quickly lay down a quick, rough sketch to go with the captions in each panel.
Material
| • | Rocket_Rodeo Project |
How to draw scenes
- Start Storyboard Pro and open your Rocket_Rodeo.sboard project.
The project opens in the Horizontal workspace with the caption fields filled and ready for you to start sketching.

- In the Tools toolbar, click the Pencil
 button. Read the captions in the first few panels and start sketching.
 - Add the Tool Properties view to the workspace and adjust the properties of the Pencil tool and the colour. You can change the pencil colour to the standard light-blue for sketching.

- Use the Contour Editor
 tool to shape and refine your drawings.
 - You can use the Paint
 tool to fill in areas with colour.
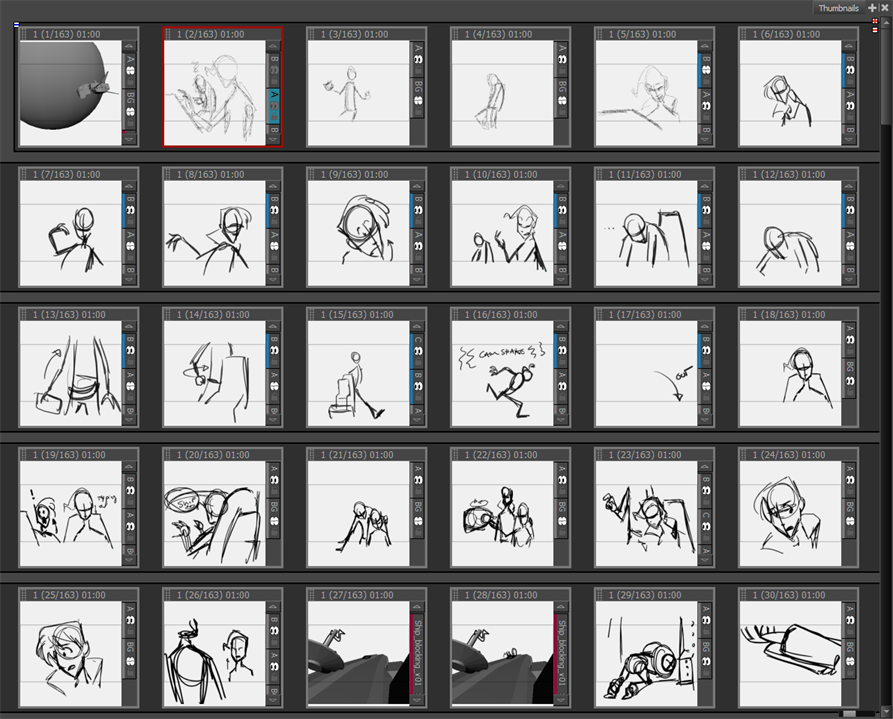
- To get a visual overview of your thumbnails, switch to the Overview workspace. In the View toolbar, click the Overview Workspace
 button. Now you can see how your story is progressing.

- Switch back to the Horizontal view and continue sketching. Don't forget to turn on the light table and onion skinning to see the sketches before and after the current panel.
- Save
 your project.
Time Estimated 30 mins
Difficulty Level Beginner
Topics List
- About Drawing Tools
- Drawing with the Brush Tool
- About the Centerline Editor
- Drawing with the Pencil Tool
- Drawing with Bitmap Brushes
- Erasing with Hard and Soft Erasers
- Using the Light Table
- Reshaping with the Contour Editor Tool
- Cutting
- Drawing with the Polyline Tool
- About Colour Swatches
- Changing the Current Colour
- Adding Colour Swatches
- Painting
- Importing Images
- About the Onion Skin
- Setting the Onion Skin
- Flipping through Onion-skinned Drawings
- Activity 1: Using Onion Skin on Layers with the Same Name
- Editing Artwork on Multiple Panels
- Copying Artwork on Multiple Panels
- Activity 2: Drawing Scenes
- Generating Auto-Matte Layers
- Activity 3: Generating an Auto-Matte